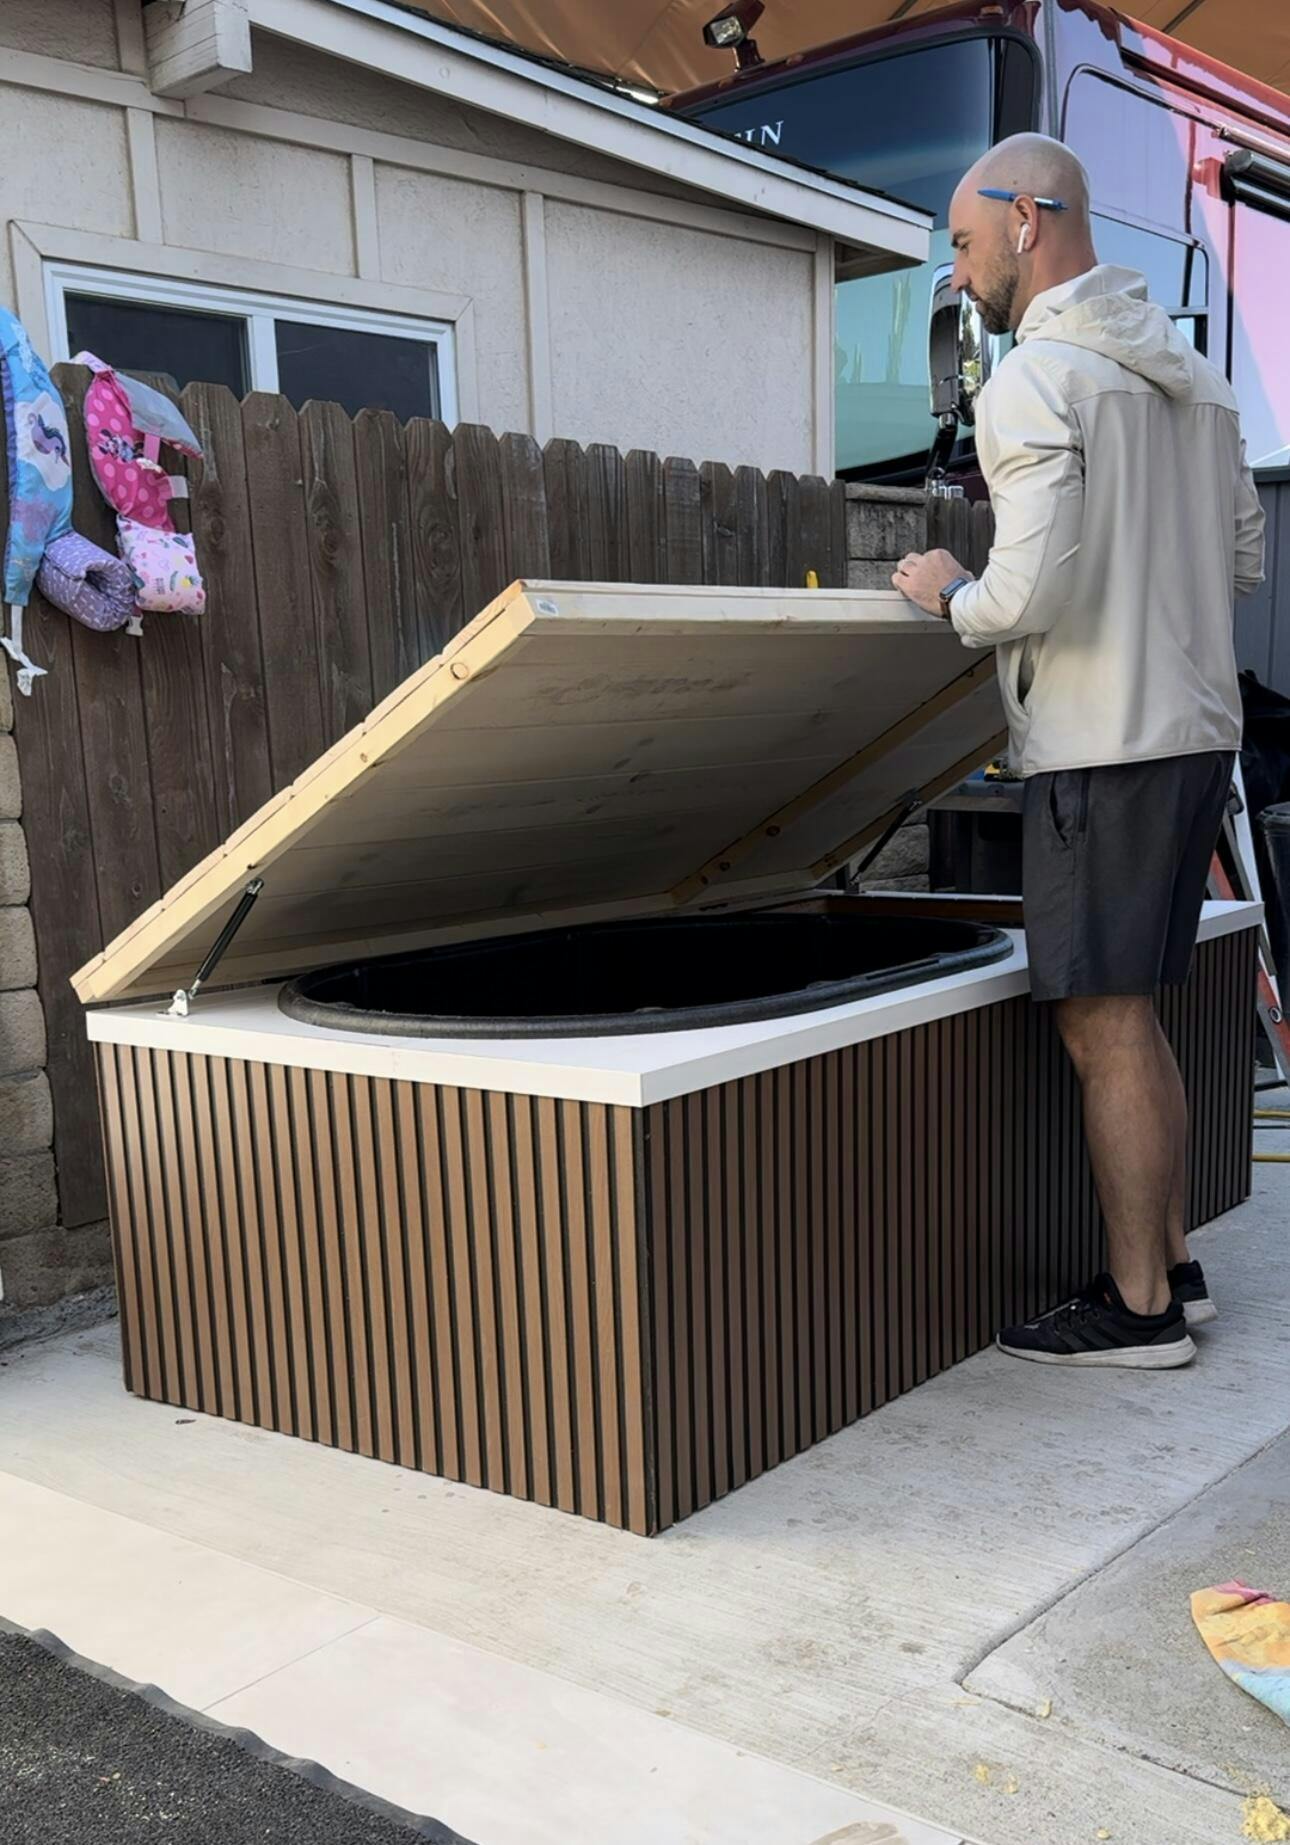
DIY Cold Plunge Spotlight: Evan's Stock Tank Cold Plunge
Why build a DIY Cold Plunge vs. buy a cold plunge retail?
For one, it is going to be cheaper overall. It gave me a sense of pride knowing that I did this build despite not being the most handy person in the world. Lastly, since you built it, you will know your plunge inside and out, LITERALLY.
How long did it take, from start to finish?
I put in a solid three weeks of work building it. If I had to give you a number of hours it would be about 30.
How much did it cost to build a DIY Cold Plunge?
Going into this build, I definitely did not want to spend more than $2,500. It only made sense as long as It was cheaper than the ones companies sell for online. The actual cost of my plunge cost me $1,800. There are a couple points that can save you some money in the long run. Shop around for a water chiller. Check marketplace, offerup, craigslist etc. If you aren’t in a rush, you can snag yourself a really good deal like I did. $300 for a 1/2 HP Active Aqua chiller is what I scored. Next, measure twice and cut once. I wasted lumber because I was not patient and precise with some of my measurements. This led to me having to buy more lumber than what was required.

What was the hardest part about the build?
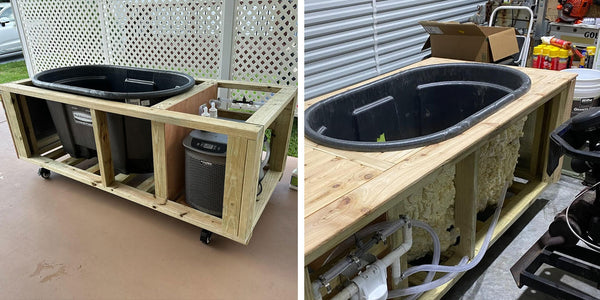
There were a couple things that were unexpected during the process. First, I bought a metal trough instead of a rubber one. Well come to find out, my metal one was leaking so I switched to the 100 gallon rubber one instead. Always leak-test before you commit to your build.
What did you think of the DIY Cold Plunge Plan?
The plans were detailed and great for people who are beginners in terms of working with their hands. Overall, I would rate the plans a 9/10. I can’t think of anything else I would have needed or wanted!

Did you make any personal modifications?
I decided to add caster wheels to the bottom of the plunge. This allowed me to transport it around easier if needed. It also made it a lot easier to work on and move while it was in my garage.
I also did not drill a drain hole for when I am ready to do water changes. I sort of debated this. Part of me didn’t want to drill another hole, and the other part of me wanted to rush finishing the build. I ended up not doing a drain hole. So I ended up buying a mini sump pump to remove water. I shop vac out the rest and clean the inside as needed.
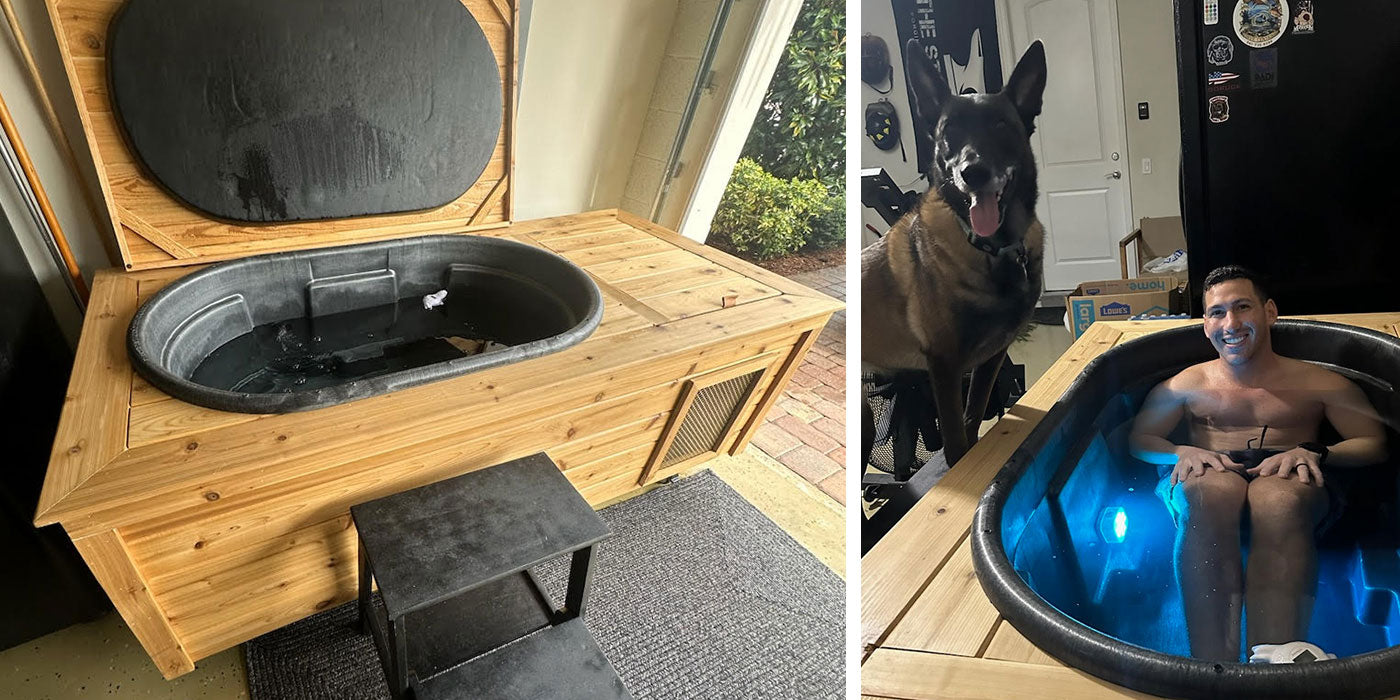
Overall, how do you feel about your DIY Cold Plunge?
My favorite part about having a DIY cold plunge is the sense of pride and ownership. Whenever I see it there in my garage, I know that it’s something I built on my own. It’s a great conversation piece as well when people see it and almost don’t believe I built it myself.
If you are someone with limited experience with plumbing, lumber and operating tools, I would definitely recommend the plans. If you are experienced, you still would benefit from the plans. You may be able to figure out some things on your own, but sooner or later you are going to need some guidance in the right direction. That’s where the plans will come into play!
👉 Shop Stock Tank Plans & Products