The 5 Main Components of a DIY Cold Plunge
Whether you are going to buy retail or build a DIY Cold Plunge, it’s good to know what the primary parts in the unit will be. Across most cold plunge brands (and what I recommend for DIY) there will be 5 main components. I break down each item below and what my specific product recommendations are for each category.
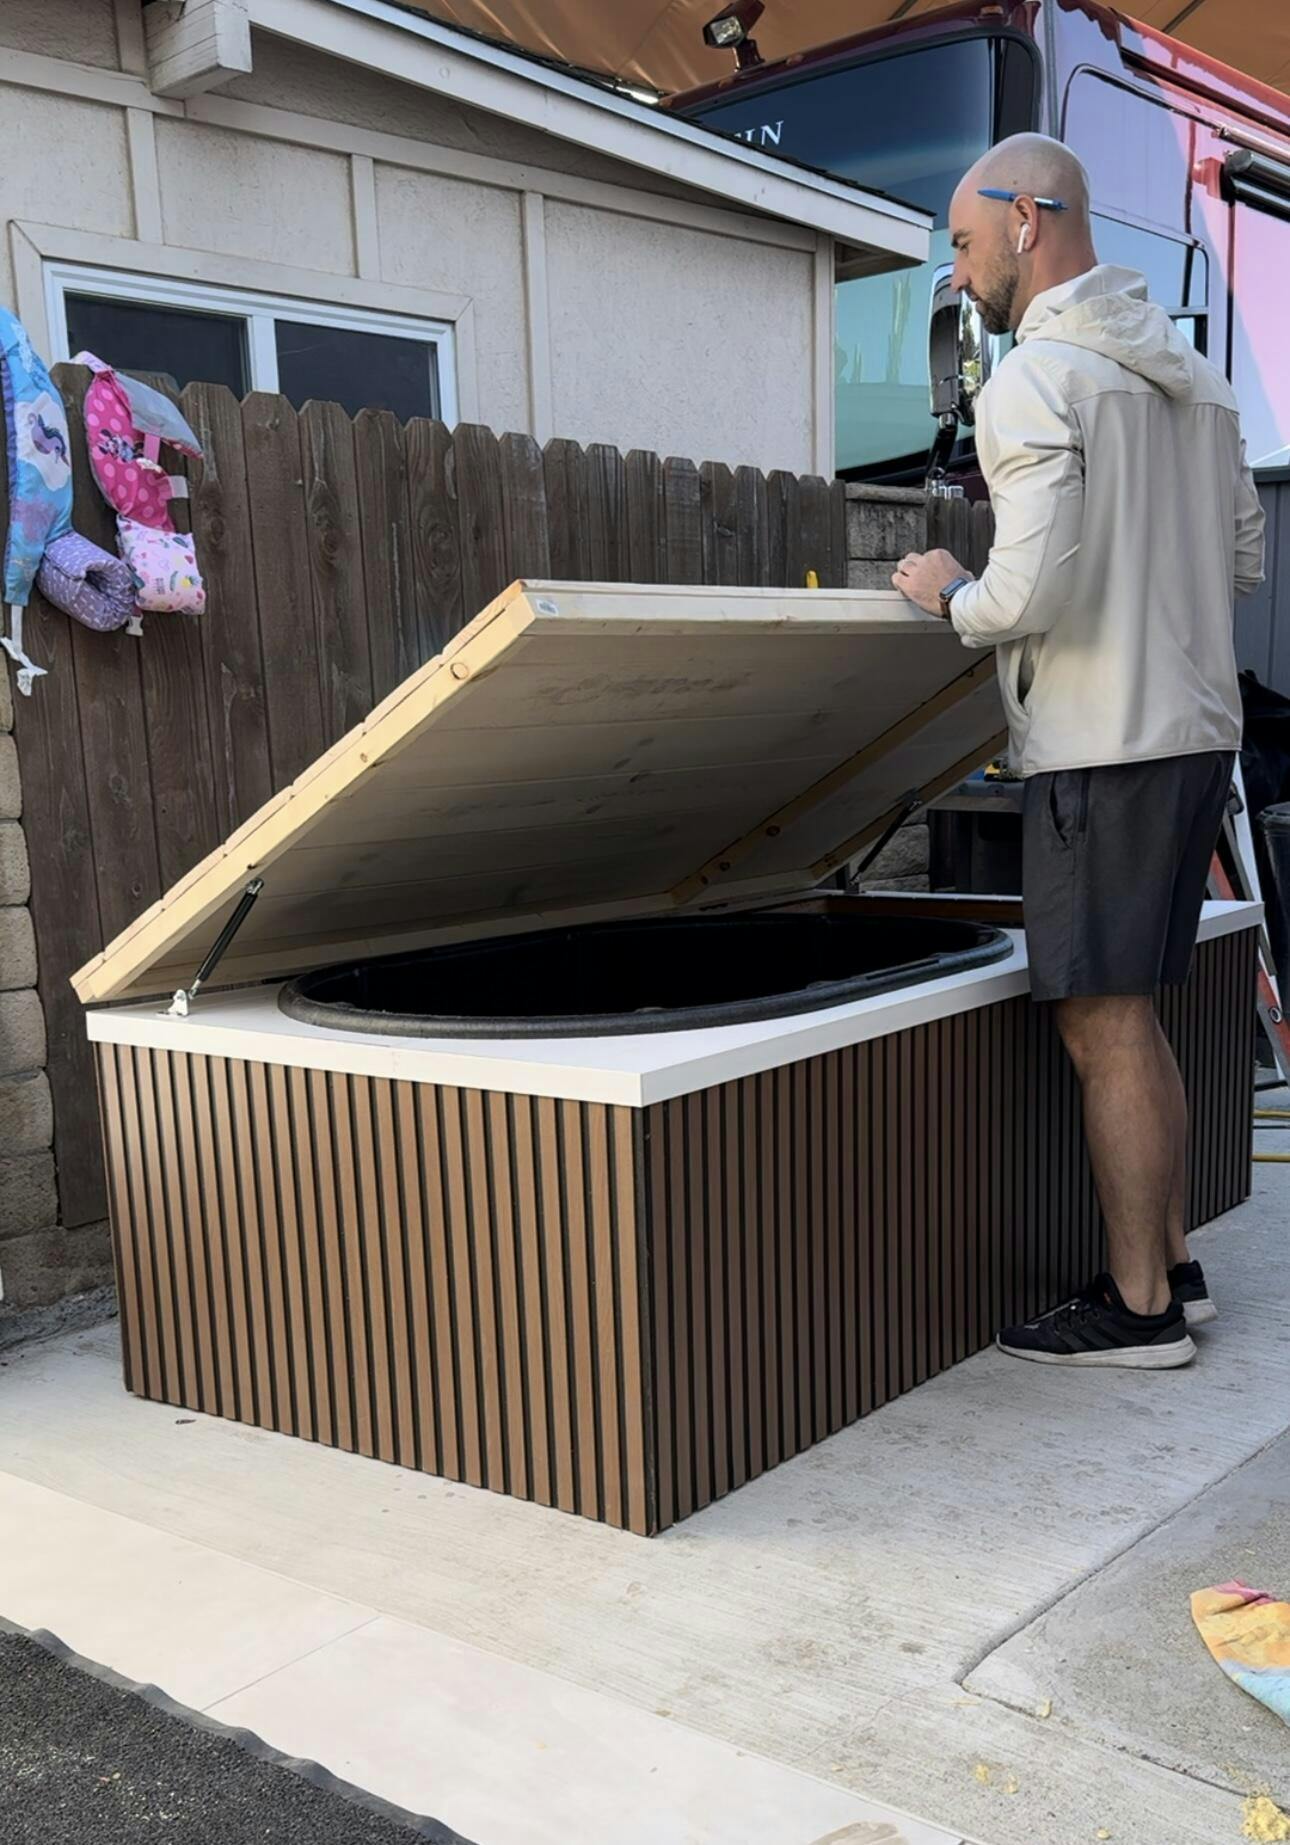
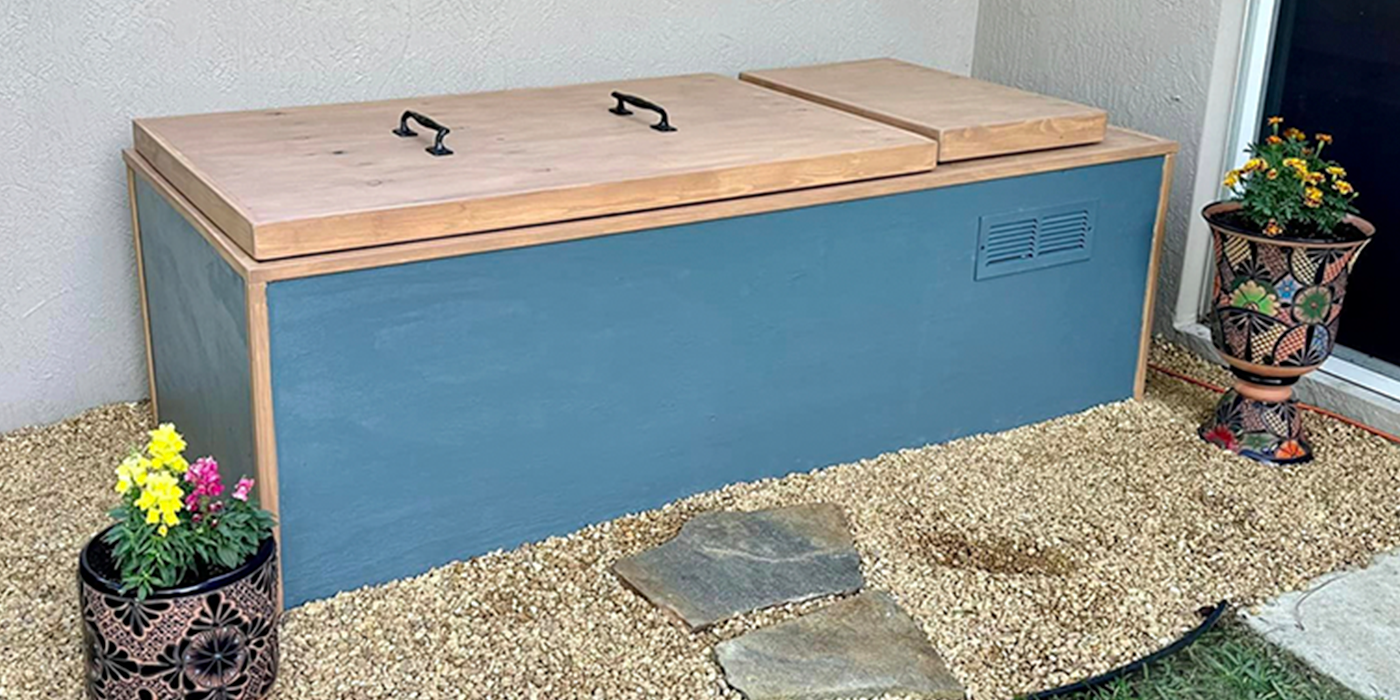
1 - Tank, Tub or whatever will hold your water
This may seem obvious, but the first and most important piece of any cold plunge is a tank or tub that will fit you comfortably. Some may want to sit more upright, others prefer to sprawl out to have more room or have room to head dunk without their legs coming out of the cold plunge. There’s no wrong answer here as long as the tank/tub does not leak.
If you are going the stock tank DIY cold plunge route, the 100 and 150 Gallon Rubbermaid Stock Tanks have been the most popular. They are tapered, so they feel more roomy for their size. There’s nothing wrong with galvanized steel tanks but they are more prone to leaks, are inconsistent in size and have the possibility of developing rust over time. You can also build a cold plunge out of a rectangular tank or freestanding bathtub.
2 - Water Pumps
If you are buying these components in order of importance, the water pump comes next in your DIY cold plunge build. This is the heart of the whole system. You will need a properly sized pump to get your chiller, filter and ozone generator functioning properly, so do not skimp on your pump purchase.
The thing to think about when it comes to choosing a pump for your DIY cold plunge is the loss of flow rate that happens with every length of pipe, additional component and any vertical height that water will need to travel. Each one of those factors affects the advertised flow rate on your pump.
After experimenting with several pumps over the years, Danner Water Pumps are what I use and recommend without any hesitation. They are durable, reliable, simple & easy to use and can function both in-line in your cold plunge plumbing system or be used as a submerged pump.
There are two main sizes I recommend - the Danner 9.5 (950 GPH) and the Danner 12 (1200 GPH). You’ll see these referred to as the “Danner 950” and “Danner 1200.” The Danner 1200 is the most versatile and has been paired with nearly every chiller I recommend. It is slightly bigger and heavier than the Danner 950. For my personal builds, I pair 1/4HP chillers with the Danner 950 and 1/2HP chillers with the Danner 1200.
3 - Water Chillers
The water chiller is what puts the COLD in cold plunge. Brace yourself, these aren’t cheap. Expect to spend $500-1000 on a quality chiller that will last. Of course, you could go with bags of ice or refreeze water bottles… but ice gets expensive quickly and both get tedious and accelerate the need for water changes.
The water chiller is the next core component in a DIY cold plunge because it will need a pump to operate - these will not cycle water through by themselves (unless you go for an all-in-one, which I do not recommend). The all-in-one’s and chiller/pump combos have a high fail rate and are EASILY twice the price at the lowest end.
What size chiller should you get? 99% of scenarios will only warrant a 1/2HP or 1/4HP chiller. Anything other than that will be overkill. One mistake I see people make is purchasing a chiller based on the rate of cooling and spending way too much money on an overpowered chiller. Your water only needs to be brought down to temperature once, from there it will maintain temperature automatically - and you don’t need a huge chiller to do that. Again, chillers in the 1/4HP to 1/2HP range will perform just fine in the majority of at-home DIY cold plunge setups.
What temperature can these chillers get to? For the Active Aqua 1/4HP and Active Aqua 1/2HP, 39°F is what they can be set to and have been able to maintain in my experience. You can also “hack” these chillers to get lower. I’ve had both my Active Aqua 1/4HP and 1/2HP down to 34°F in mid 90°F weather
4 - Filter Housing & Water Filters
So far we have covered the essentials to keep your DIY cold plunge water cold. Now we are shifting to keeping your water clean & clear. The first key component, and there are two, is filtration. Filtration will keep the “stuff” out of your water. Think things like hair, debris and whatever else might land in your tub or come off of your body/clothes.
Your filter housing is what holds your water filter, and is in-line with your chiller and pump. Your pump will push water through the filter, removing sediment and debris. I’ve tested a handful of filter housings and only recommend this GE Filter Housing. It holds 2.5” x 10” sized filters, has a built-in bypass & shutoff valve, has a clear filter housing so you can see how dirty your system is and is fitted for ¾” pipe which is what you will need for a DIY cold plunge build.
Next, lets talk about the filters themselves. They come in all sizes, materials, micron ratings and styles. So… What size filter should I use for my DIY cold plunge? I recommend a pleated paper filter that is rated for 50 micron (of course, in the 2.5” x10” size because of the filter housing). Any micron rating lower than that will clog your filter too quickly. You can certainly go for a higher micron rating, but I have found that 50 micron is the sweet spot.
5 - Ozone Generator & Venturi Injector
We’ve talked about filtration, now let’s move on to sanitation. Yes, they are two completely separate and different things. The filter keeps stuff out of your water, sanitation keeps your water clean/sanitary.
The easiest, most maintenance free way to do this is with ozone. Many folks, including myself, do not like the idea of harsh chemicals like chlorine for water sanitation and for that reason ozone has become the gold standard in cold plunge water sanitation. You will hear many people talk about using UV for sanitation but in most cases it is just water clarification. Most cold plunge brands used both UV and ozone to start out but have moved to strictly ozone for sanitation because of it’s effectiveness and how finicky UV can be.
The ozone generator produces ozone, which is injected into the water line through a venturi injector. Ozone kills pathogens & microorganisms through oxidation, sanitizing the water. I have kept my water clean and clear for up to 4 months at a time with my DIY Cold Plunge Filtration & Sanitation System - which uses filter housing, ozone generator and venturi injector I recommend.
There they are, the 5 primary cold plunge components along with my recommendations. Again, each product I recommend has been thoroughly tested by me and has the track record of my community behind it. If at any time I find anything new/better I will update this article!